Description
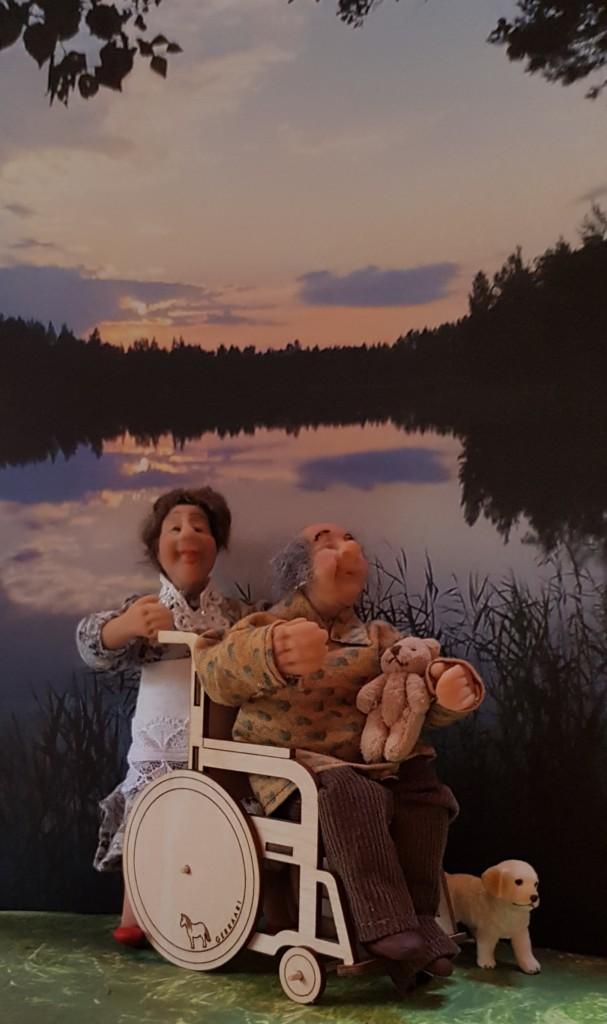
Wheelchair kit 1:12 for dollhouse
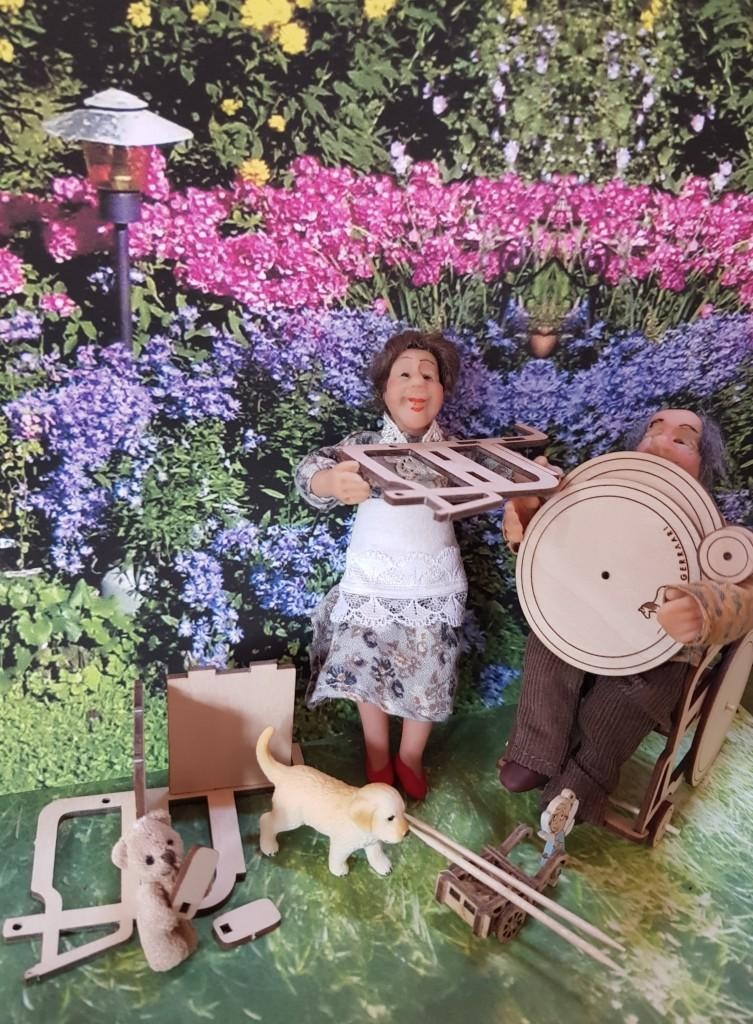
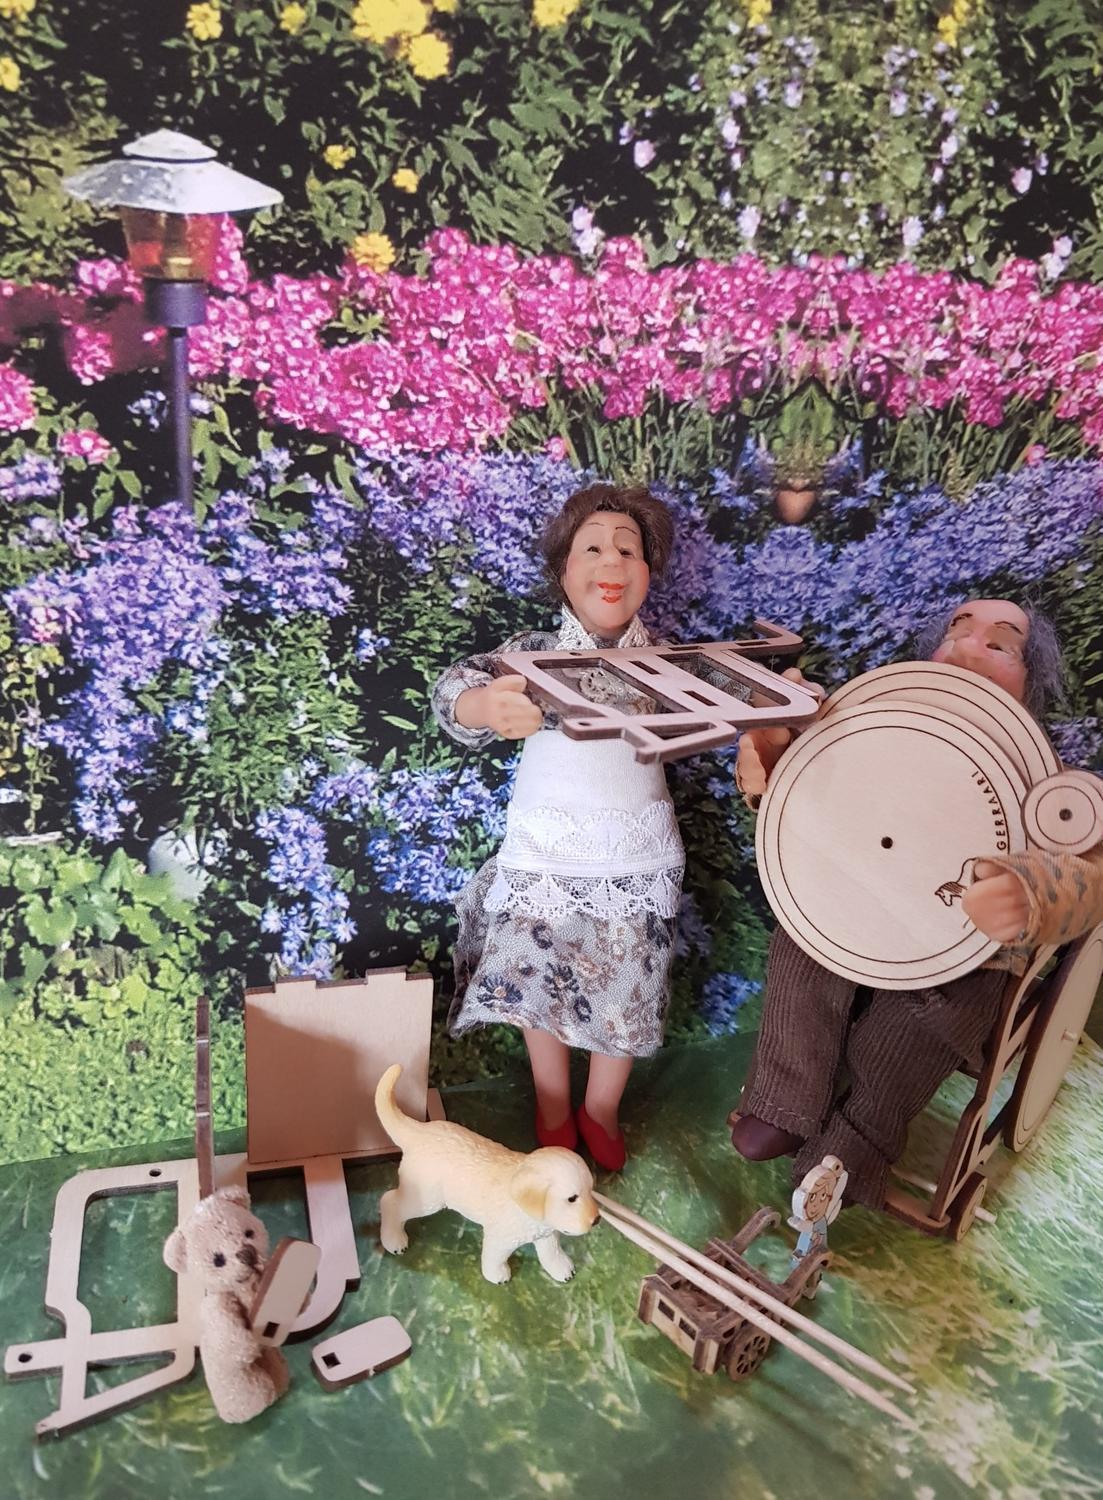
This is where the assembly of Gepetto wheelchair for dollhouse begins. The whole team has started eagerly. And why not, in the Gepetto-model, assenbly goes nice and easy. Puppy takes care of the management and picking up the fins. Mom has already started and acted as it should, i.e. connected the backrest (smaller) and the seat piece (bigger) in place to the second frame part and is attaching the second frame piece in place. Dad takes care of the tires. That’s good because they’re installed last. The teddy bear has been responsible for installing the footrests, as long as the body is first assembled. The fairy picks up the axle pins. Once Mamma has gotten the frame size, the fairy can help push the shaft pins into place. Mom and the fairy push and glue the rings to the pins on the outside of the frame and make sure (by rotating) that neither the ring nor the shaft sticks to the frame. Once the glue has dried, they cut the pins on the outside with small cutting pliers (fairy’s suggestion) or even scissors (Mom’s favorite tool). Finally, the teddy bear can finally glue the footrests in place!
”Well then Puppy, when is the coffee break?” says Pa.
Pa wants to paint the Gerraari (name of the wheelchair) red. You can paint plywood with anything or varnish, wax, stain… Pa swears by acrylic paints, it’s so easy and dries. Pa hints also that to increase opacity and soften the tone, you should always add a little white colour mixing the paint. ”Can I interrupt” Mamma asks. He would like to remind you that if you upholster the backrest and / or seat, you should paint the other parts and do the upholstery before assembling so that the fine fabrics do not get dirty. Remember to leave the joints free of fabrics.
